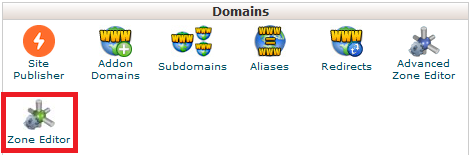
Step 1 - Log in to cPanel (click here for a guide) and click on the Zone Editor tool.
Step 2 - Click on Manage for the appropriate domain

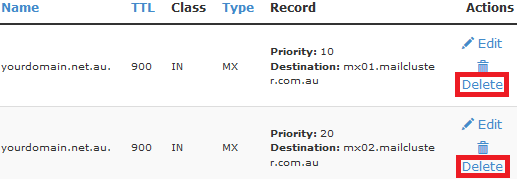
Now click MX so only the MX records are listed
![]()
Step 3 - If you see any old MX records, make sure to Delete them first
Now click on Domains on the top left

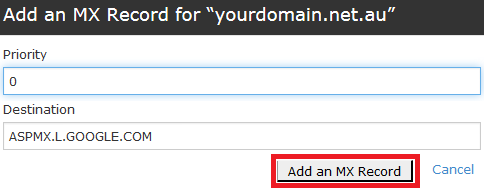
Step 4 - Click on + MX Record

Now enter your Priority, the Destination (sometimes named Record) and click Add an MX Record
Repeat the process for all the MX records you have.
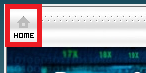
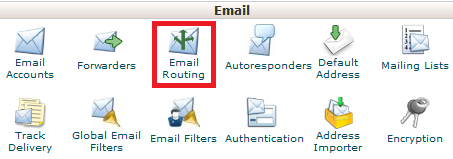
Step 5 - Click on the Home button in the top left of the screen
Now click on the Email Routing icon
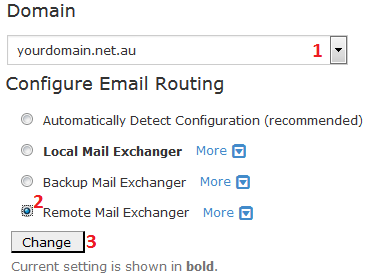
Step 6 - (1) select your domain (2) select Remote Mail Exchanger (3) Click on Change
That's it! Note that MX records can take up to 4hrs to propagate and work properly. You can use a site like https://www.whatsmydns.net to check periodically and make sure they're live.