The LiteSpeed plugin for WordPress will work far better than Super Cache, Total Cache or other cache plugins can, as it runs on the server level rather than just the WordPress level.
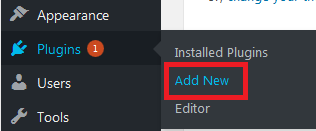
Step 1 - Log in to WordPress and add a new plugin.
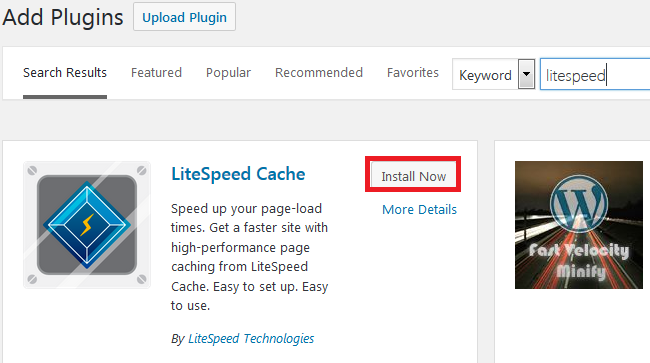
Step 2 - Find the plugin and click Install Now.
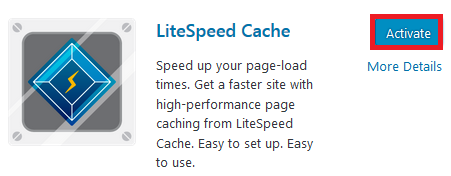
Click Activate to enable LiteSpeed.
The LiteSpeed plugin will add code to the .htaccess file of your site, which allows the server-side software to function. On older versions of the plugin this is not always added correctly. We would recommend using the latest version of LiteSpeed Cache, and reaching out to your developer if this is not compatible with your site.
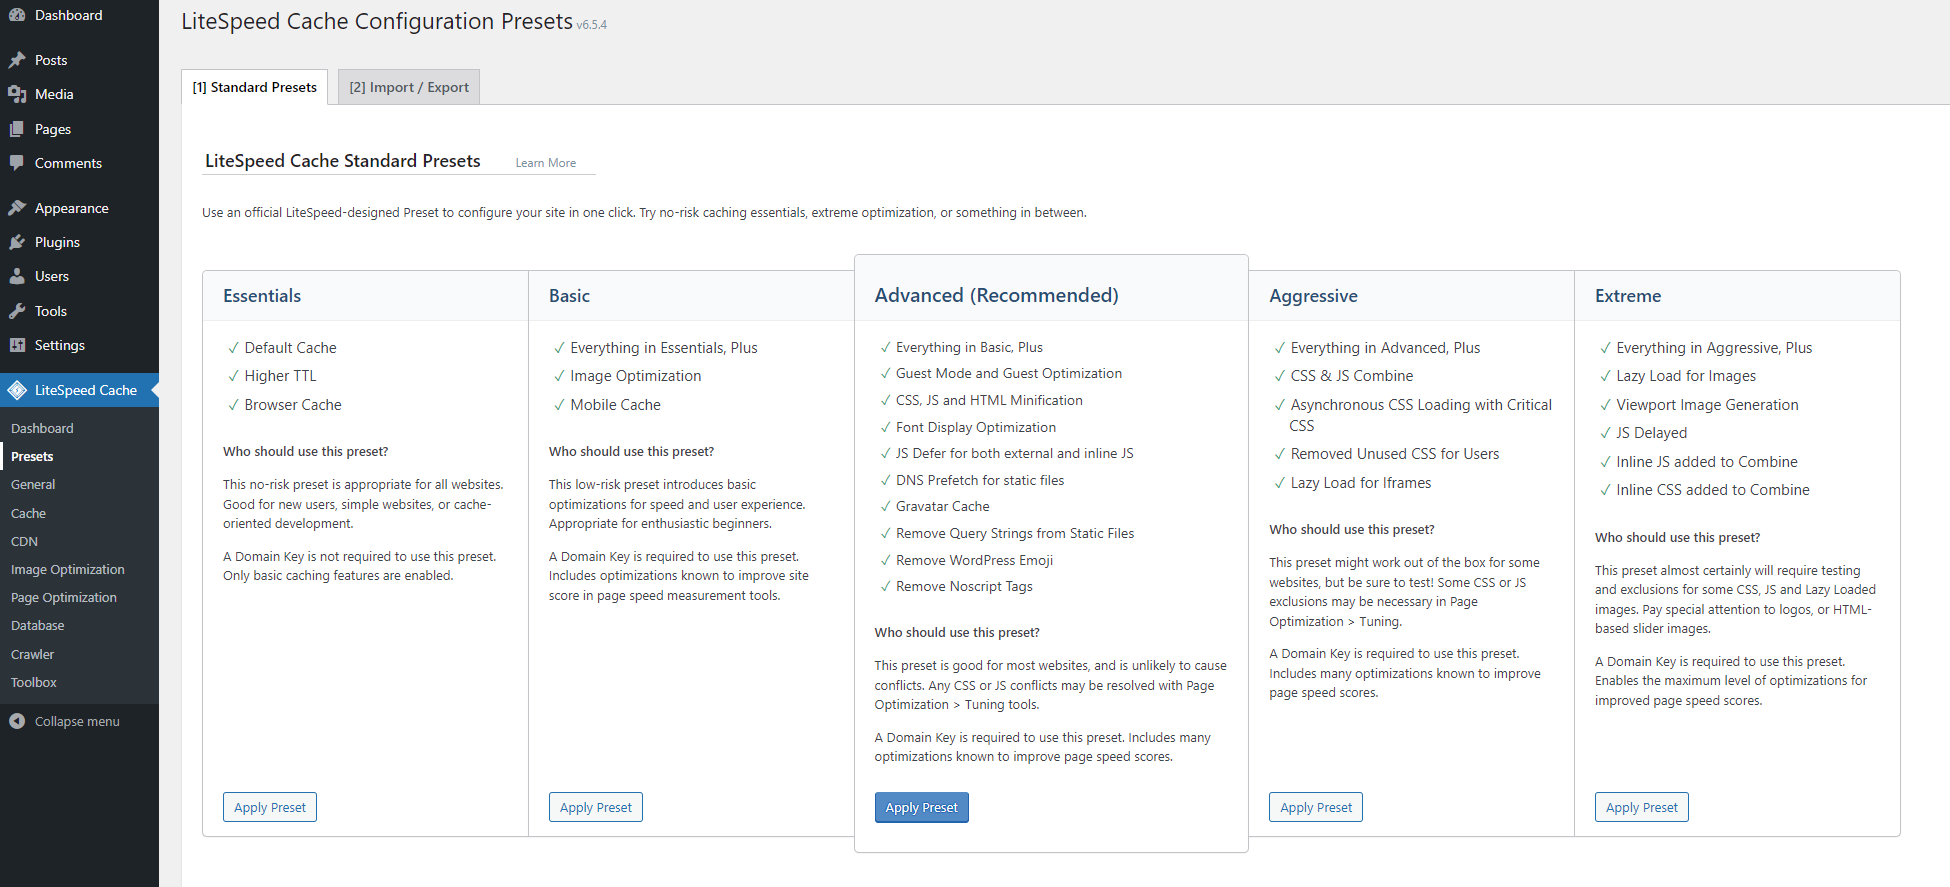
Step 3 - You can now access the LiteSpeed Cache plugin from the dashboard, navigate to the Presets option to select an appropriate caching preset.
Keep in mind the 'Who should use this preset?' suggestions for each preset level.
Step 1 - Log in to WordPress and add a new plugin.
Step 2 - Find the plugin and click Install Now.
Click Activate to enable LiteSpeed.
The LiteSpeed plugin will add code to the .htaccess file of your site, which allows the server-side software to function. On older versions of the plugin this is not always added correctly. We would recommend using the latest version of LiteSpeed Cache, and reaching out to your developer if this is not compatible with your site.
Step 3 - You can now access the LiteSpeed Cache plugin from the dashboard, navigate to the Presets option to select an appropriate caching preset.
Keep in mind the 'Who should use this preset?' suggestions for each preset level.
Share via


