How to Create, Import or Export a Database in cPanel
These guides assume you've logged into cPanel.
How to Create a Database using MySQL Database Wizard
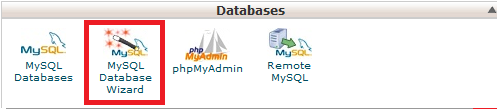
Step 1 - Open the MySQL Database Wizard.
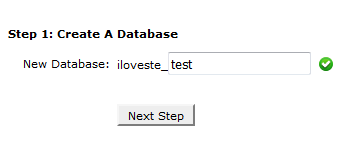
Step 2 - Name your database and hit Next Step. Your database's name will always start with cpanelusername_
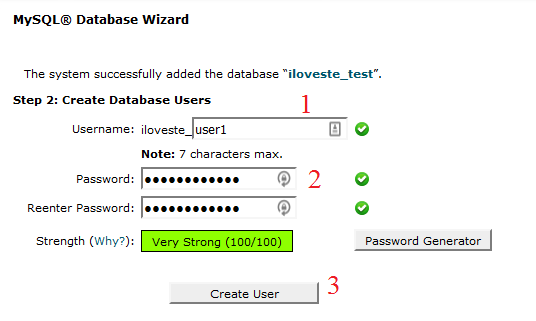
Step 3 - Create a user for the database. Again this will start with cpanelusername_ automatically. For the Password, we recommend using the password generator to create a secure password, . Make sure you copy the password and username somewhere safe on your computer. Once done, select Create User.
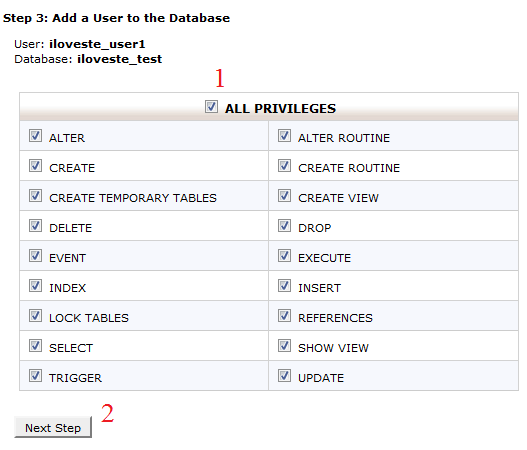
Step 4 - Select the user's privileges then click Next Step. If this is the main user for this database you will want to select All Privileges.
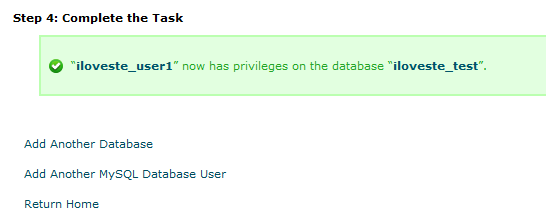
Step 5 - The database is now created. Select Return Home.
How to Import a Database using PHPMyAdmin
Note: PHPMyAdmin has a upload file size limit of 50MB. If your database is larger than 50MB, we would recommend following enabling SSH then importing the database via SSH. If required, you can also upload the database to your File Manager and then reach out to our support staff for assistance with importing it.
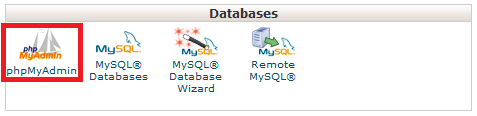
Step 1 - Open the phpMyAdmin tool.
Before you read this, ensure you have a blank database created. This needs to be done before you import data. If you have used Softaculous to install a CMS like Wordpress or Joomla, the database would have been created as part of the installation process.
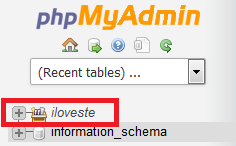
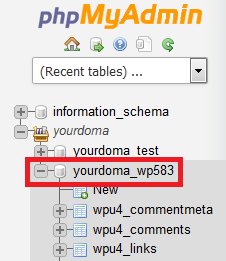
Step 2 - Select the correct database from the left panel
Step 3 - Click the Import button.

Step 4 - Select the database you wish to upload.

Step 5 - Click Go.
How to Export a Database using PHPMyAdmin
Step 1 - Open the phpMyAdmin tool.
Step 2 - Select the Database or the table you wish to export.
Step 2 - Click on the Export option up the top of the page.

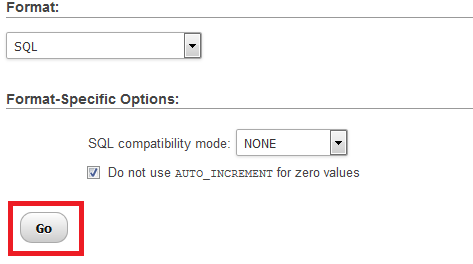
Step 3 - Click Go.
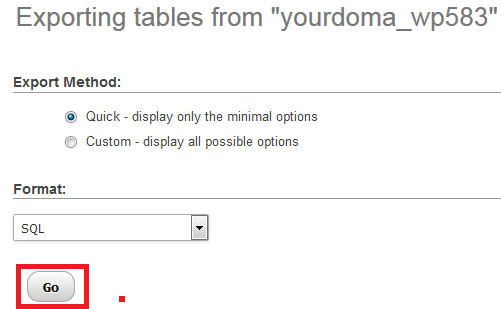
NOTE: You can use the Custom option to change a whole host of settings relating to how the database will be output. However for 99% of cases this won't be required. You can also use the Format: option if you want the file to be output as a LaTeX, CSV, PDF or anything else other than the standard SQL format. Again, for most cases this won't ever be required.
Share via


