HOW TO TAKE A SCREENSHOT IN WINDOWS
NOTE: Scroll down for the Mac OSX Guide
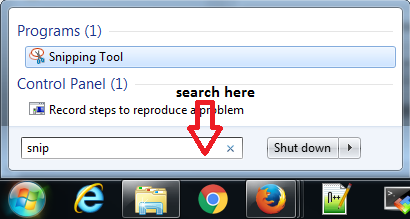
Step 1 - Find the snip tool
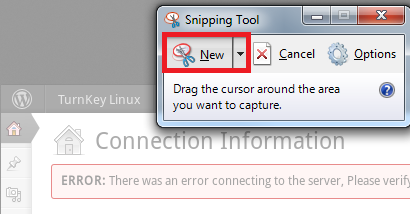
STEP 2 - Make sure the New option is selected (this may happen automatically when you first open the program)
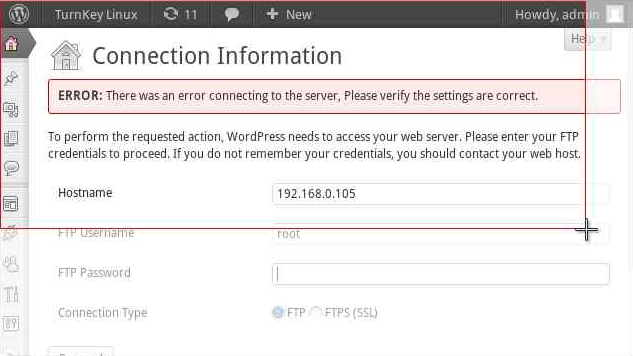
Step 3 - Hold and drag the left mouse button around the area of the screen you want to take a screenshot of, then let go
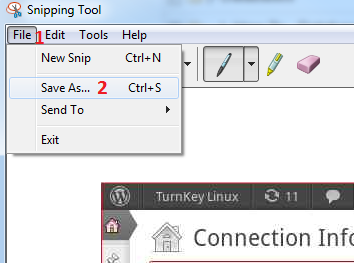
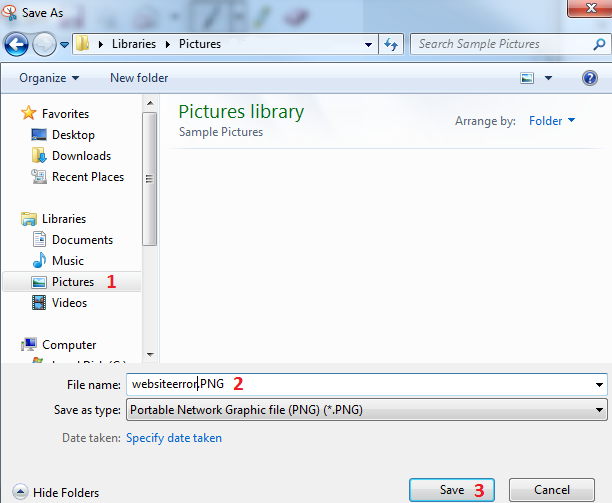
Step 4 - Click File > Save As
Step 5 - (1) Select the folder you want to save the file in (2) name the file (3) Hit the Save button
HOW TO TAKE A SCREENSHOT IN MAC OSX
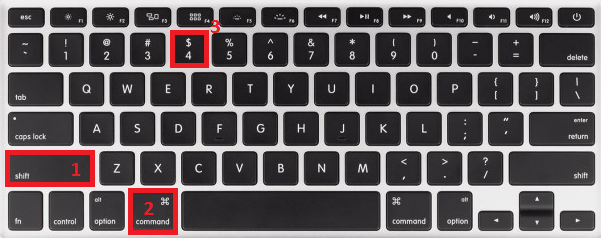
Step 1 - Hold down the shift and command buttons then press the 4 button
Your Icon will look like this: 
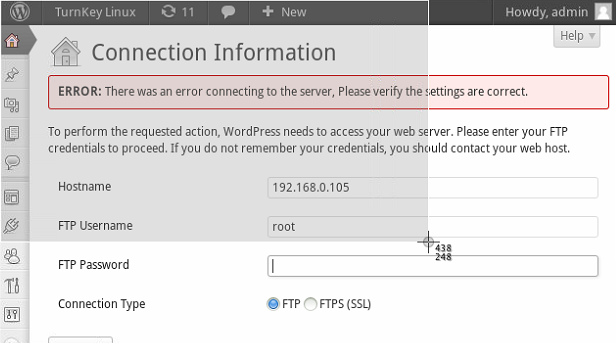
Step 2 - Hold the mouse button and drag across the area you want to screenshot
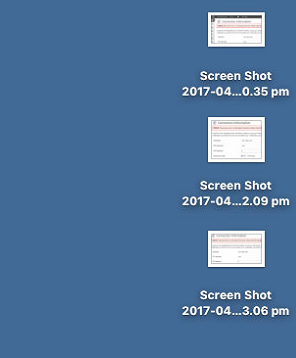
Step 3 - You will find the screenshot files on your desktop
Share via


